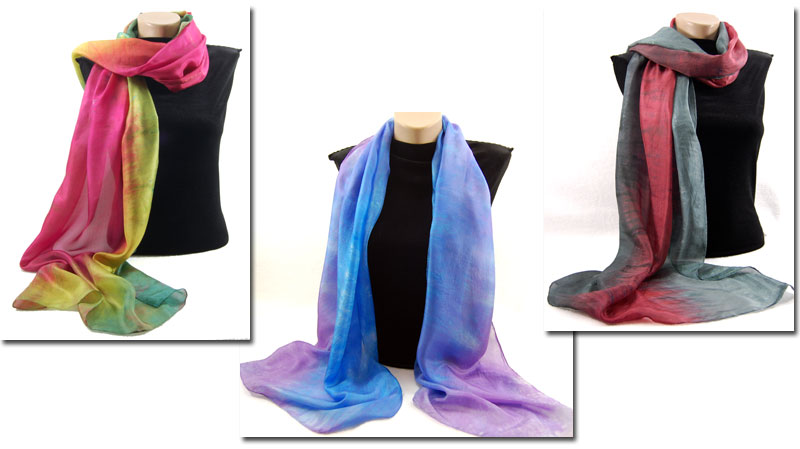
Ever wonder how I figured out how to take pictures of scarves like these?

Edit: This was a guest post for a blog that is defunct, so now I’m re-publishing it here!
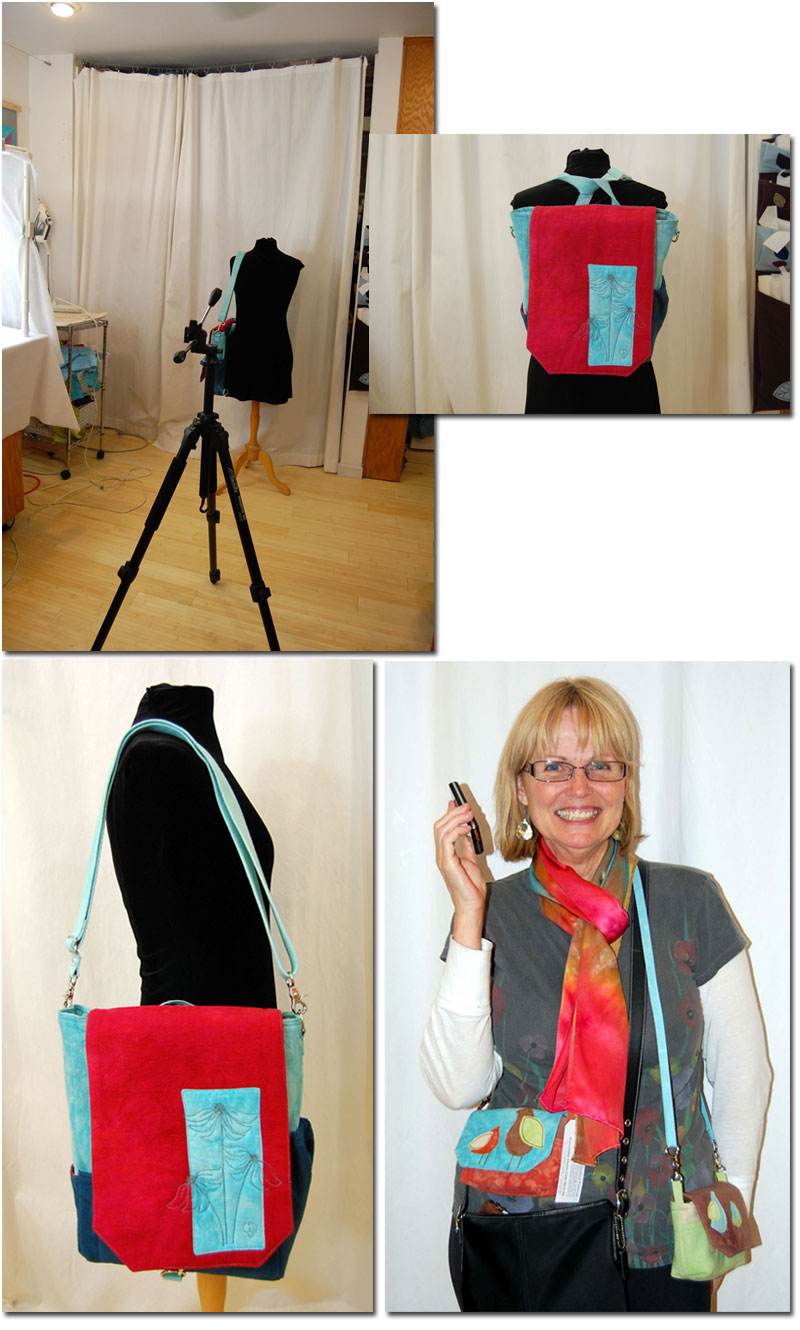
For the larger items I need to photograph, like bags & scarves, I had been setting up in front of the new white curtains in my studio, or draping white felt on my working wall (For a quick tour of my studio all nice & tidy, go here.)
In these shots I have the overhead lights in my studio on, but the flash turned off (except for the live model – she can’t stand still!) These are okay, but the colors need more adjusting then I would like. Also, I like to shoot most of my items on a table of some sort, so what I originally did for the bulk of my photography was to use only the trumpet top bulbs set on each side of the item I was shooting, set up my camera on the tripod, turn off the flash, set my white balance and go (similar to this setup). But I would get something like the top picture, and then, I’d do a lot of work in Photoshop and end up with the bottom picture:
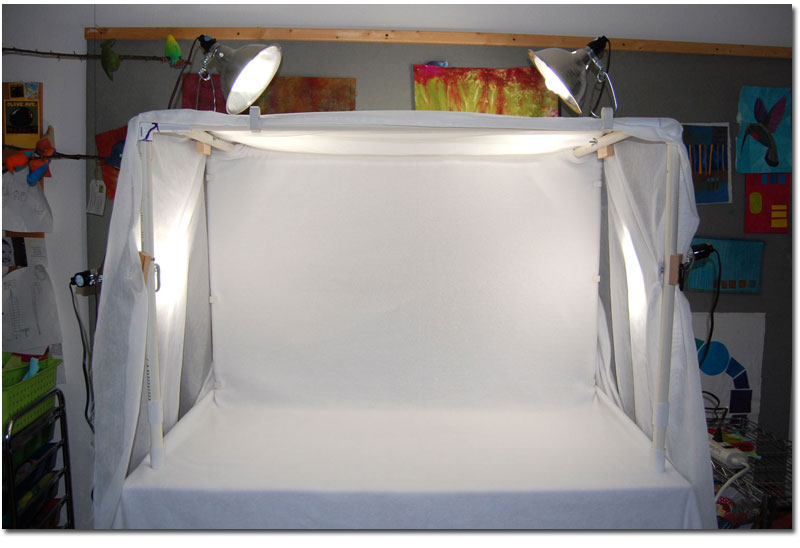
Color matching was pretty easy, but I had to do a lot of fiddly work to select all the background, and then wash the background out completely to eliminate the shadows. So, my husband & I built a larger light tent to help diffuse the light.
Build a Light Tent
It’s made from ¾” pvc pipe (used for sprinkler systems), which is quite easy to cut with pvc cutters. Most of the joints have been glued with PVC glue, but we didn’t glue the center cross pieces so the whole thing breaks down for storage:
Here are pictures of the frame, with measurements included:
This is how we made it
- (4) 24” legs were cut and elbow connectors were glued to one end of each one. (A)
- Small scraps of the PVC tubing were used to glue T connectors right next to the elbows (A detail)
- Two 22” pieces of tube were used to connect the legs to make 2 sides (B)
- Once the 2 sides were constructed, I join them with (2) 32” long pieces of PVC tubing, but I keep these UNGLUED so it all breaks down. ( C)
- We originally made it about two feet tall, but then added a bit more height to the bottom using these connectors (I kept these unglued in case I end up not needing the height) ( E and E detail).

We originally just clipped the lights to the frame, but they were very precarious, and at 15$ a pop, I really don’t want these bulbs to break, so my husband made these little pieces of wood and screwed them onto the frame where I clip the lights:
The background is white polyester fleece, I sewed a tube at the top center part, slide the center pole in, assemble the frame and then use pins and clips to fasten the fleece to the sides. Notice that the fleece runs down the back, across the top and then down the front of my table – this makes for a seamless white background.

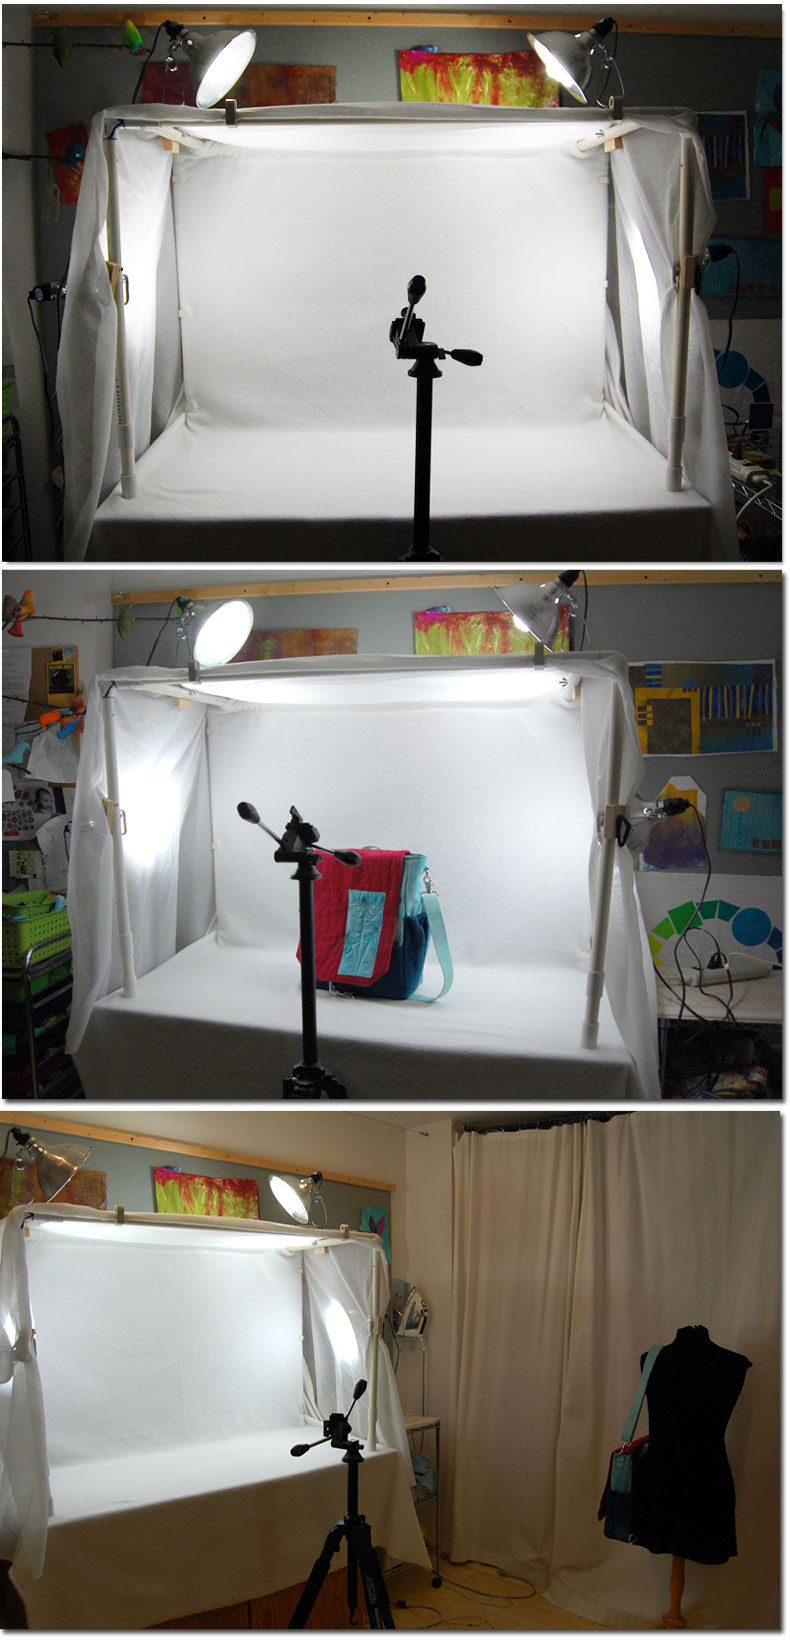
A yard of 110” white sheer curtain material is draped across the top and covering both sides. I clip the lights on after putting the sheer on, and then use more clips to keep the sheer neat & tidy. Here are some photos to show my setup (I took my camera off the tripod and used it instead of my cell phone camera this time!)
Here’s a picture of one of my bags taken with my new setup:
And these pictures show an unedited scarf picture and then after a quick crop and some very minor levels tweaking to whiten up the background just a bit.
Total cost of this light tent:
4 clip lights: $28
1 yard curtain sheer: $8
2 Yards Fleece: $8-10
4 trumpet top bulbs: $60
PVC pipe: minimal, we just used scraps.
PVC cutting tool: ?5$
Total $110
The major expense here was the bulbs, you could start by using the best locally available bulbs and see if they worked before buying these…then your cost would be $50. With the minimal amount of editing I had to do, I’m sure a cheap or free digital processing program would work well, and if you don’t have a tripod, another table with a pile of books would do in a pinch. I’ve used these bulbs for 2 years, both in my photography sessions and as lights in my booth for about 8 days of shows and they are still going strong (knock on wood!).
When I finally got this all working 2 years ago, I published a bunch of pictures on my blog and asked for feedback, and I got lots of really positive comments. Re-reading them as I write this fills me with joy all over again, I feel that I have really been able to correctly show people my beautiful scarves. And 2 years later, this is still exactly how I take pictures of my scarves! I still stress about photos, and I’m always learning more about how to operate my camera and Photoshop, but this light tent is still the most consistent way to photography my scarves. I have learned so much from this blog-o-sphere, I want to return the favor, and showing what I do to the best of my ability is part of that. I now can stop worrying about my picture taking skills and Make More Art!


3 Responses
I built a small light box this summer and love it but wondered about making something larger to photograph quilts. This is a great tutorial opening up all kinds of possibilities! Thank you!
Thanks, this is so helpful! I’ll definitely save the link for when I need to build myself a light tent (I’m thinking of going a bit more 3D with my smaller art pieces … so the scanner won’t do any more)