This is an older post that was a guest post for a blog that is defunct, so now I’m re-publishing it here!
My art is visual, I need great pictures, so people can see what I do. And if people are going to spend their hard earned money on something I created, I want them see exactly what I’ve made, and not be surprised when they open the package. I am NOT a professional photographer, and would rather spend time making my textile art, and not taking 7 zillion pictures in hopes of a good one. I spent some time online reading all sorts of articles on how to take great photos, and came up with a list of what I needed for my photos to be successful:
- Decent digital camera – I bought Nikon’s entry level DSLR, a D40, and I love it!
- High resolution pictures – I use the highest quality setting on my D40
- Tripod – easily purchased, pretty inexpensive
- Decent Photo processing software – I recently upgraded from a really old version (7? years) of Photoshop Elements to Photoshop CS4 – totally worth it, they’ve improved lots of features.
- Lots of diffuse light, so you can avoid using the flash (which gives harsh shadows) and have detail and great color .
Ugh! #5 is not so easily achieved! My research showed that many people use natural light, but it’s hard to find that when you’re working in the evenings, because the daytime is filled with kids and the dayjob. So, more research online turned up many mentions of a “light box” or a “light tent”, with many different ways to make them. I’ve successfully made 2 of them, a small one (for objects under 12” square) and a larger one (for objects up to 24” tall and 36” wide).
This is a tutorial for a small light box, click here for a tutorial on constructing a larger light tent.
Build a Light Box
One of the things I make are Journal covers. Here are some natural light pictures of them: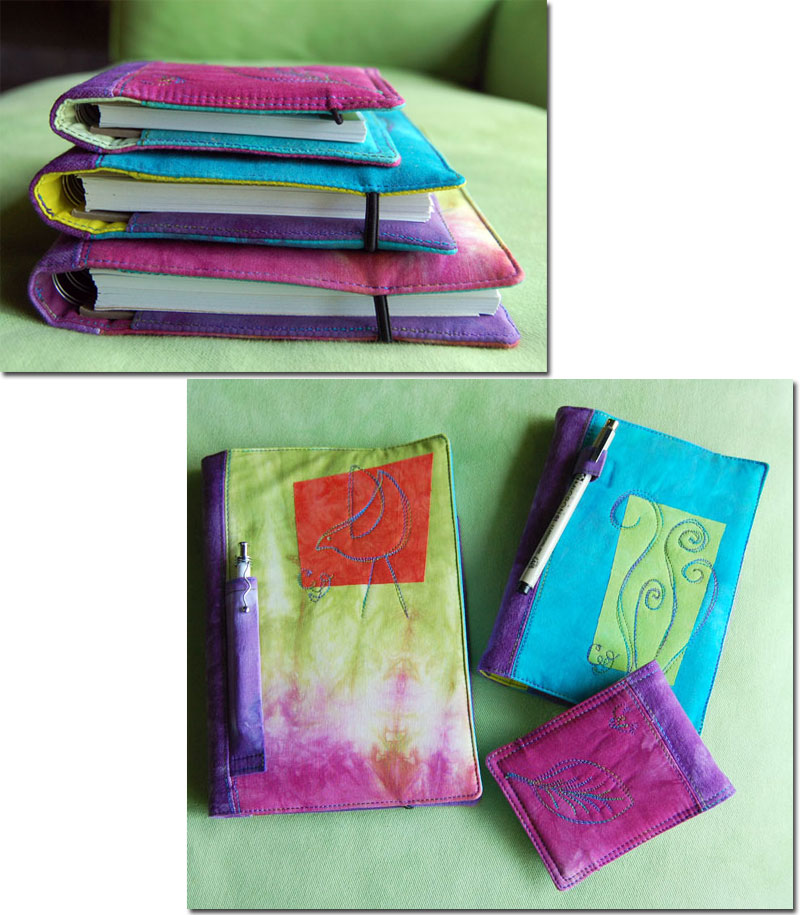
These are the best shots of the bunch, but because all the light came from the window, thus one direction, I had a really hard time getting details in the shadowy areas. Oh, if you’d like to see where I’m taking the photos, the journals are lying on my new chaise, with a slipcover dyed by me! (To see my frenetic redecorating efforts this month see here, here, and here)…oh and the blinds were all the way open when I was taking these pix):
So, my fancy small light box is a big Rubbermaid type plastic box (18” x 22” X 17”), with a long piece of white paper draped inside the top, back & bottom (I happen to have really long photographers paper given to me, but you could use white posterboard as well – the curving up from the bottom to the back wall is what you want.) Then there are 2 clip lamps perched precariously shining through the sides of the box…I diffused this light a bit by putting a piece of tissue paper between the light and the box. The lights are huge, “trumpet top” daylight CFLs (# 5000k # Lumens 2100 # CRI >84). I purchased them here. These 2 were the only lights used.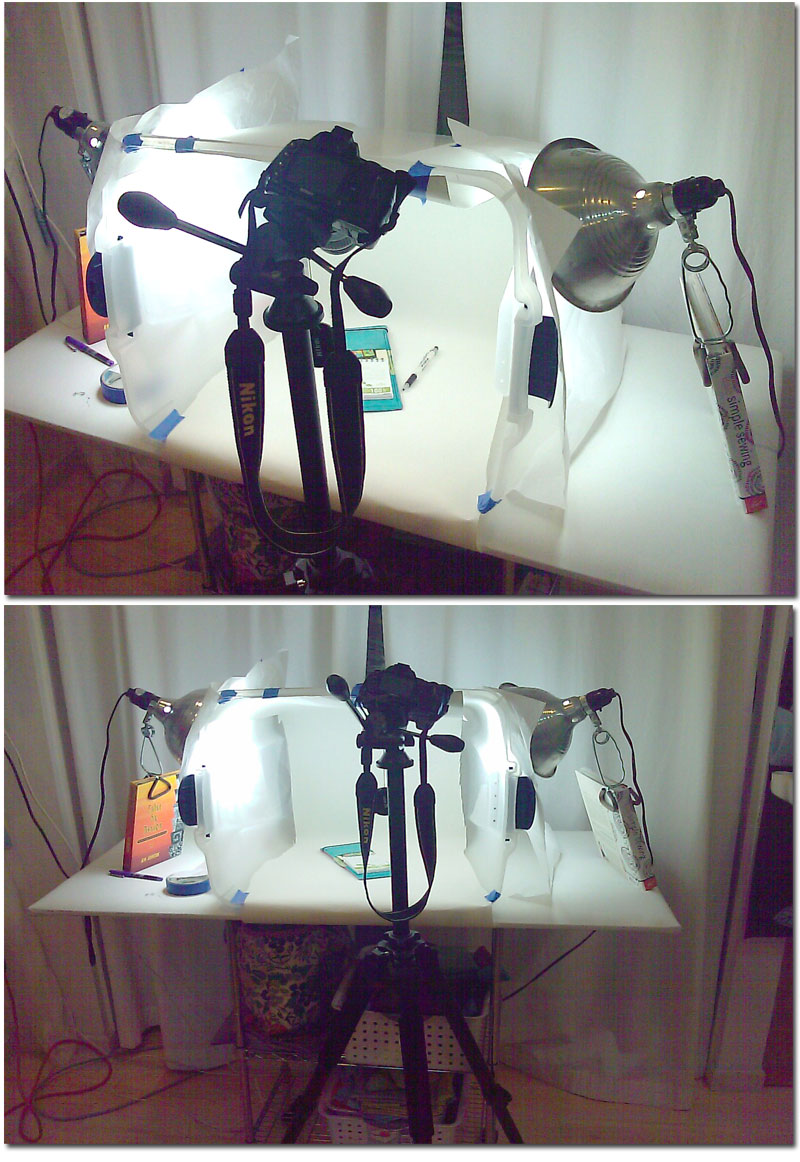
I then turned off the flash, set my white balance and started clicking. I was much happier with my shots. I still had to tweak a little in Photoshop, but much less than I had before. After cropping, I played with the levels to get the whites whiter. Kathy Mack has some awesome tips about tweaking digital photos on her blog, this is the one that talks about levels, but they all are worth a read, and written by a sewist, not a photographer, in language we quilters can understand!!!!!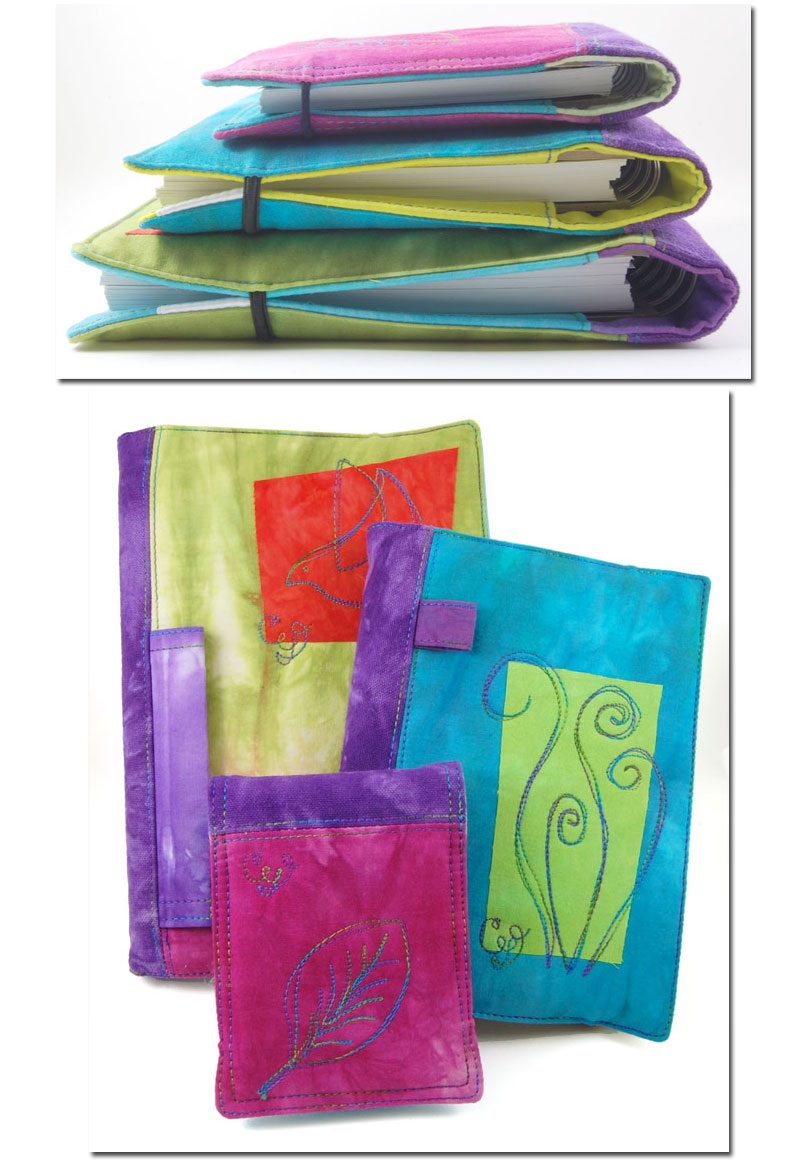
The one problem with this setup is that it’s not that big, here’s a shot of an uncropped pile of journals: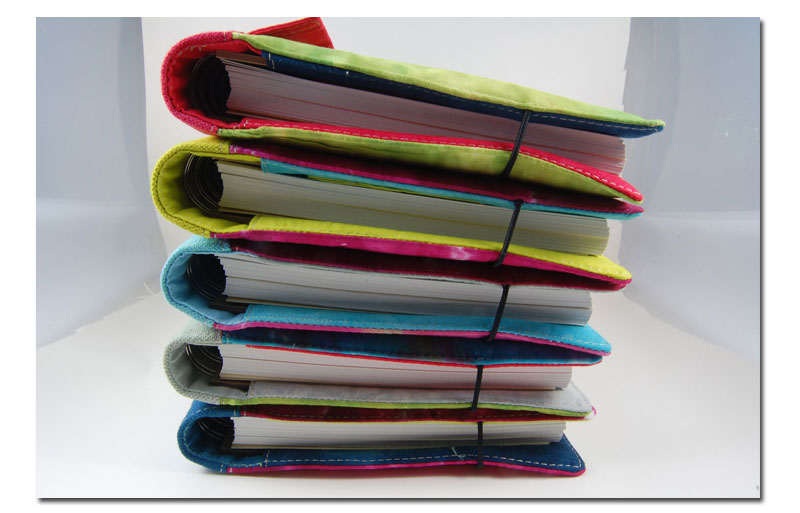
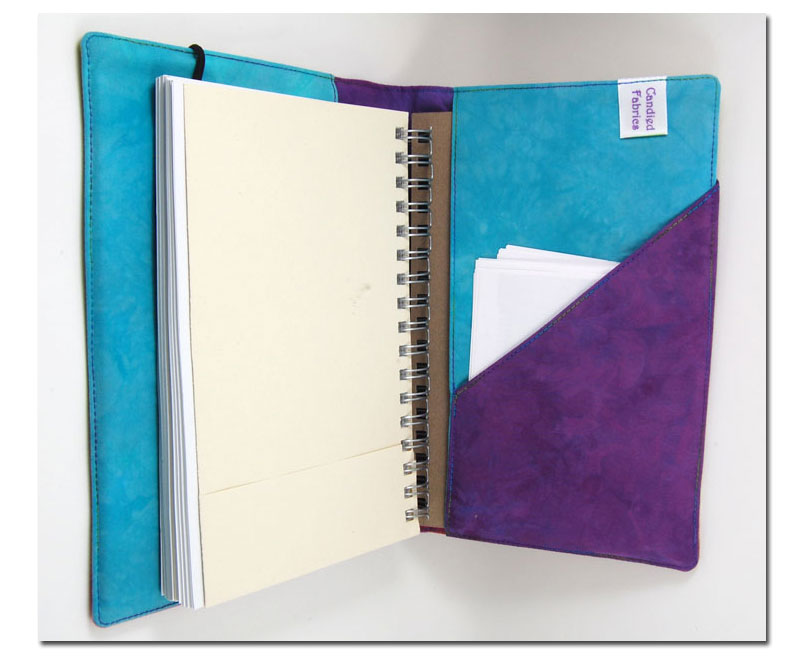
To get interior photos I had to prop them open on the back wall, then rotate the photo – I think these look weird…is it just me?
That led me to building a larger light tent, the tutorial for building a larger light tent is right here.
2 years later, this is still one of my most favorite pictures…I don’t know why, but it is! And I still use this very same setup for smaller items, so it definitely works.


3 Responses
Neat – if I EVER get a good camera, I’ll have to make one too. I like your picture!
So glad I found this again…I guess its my next step! thank you…