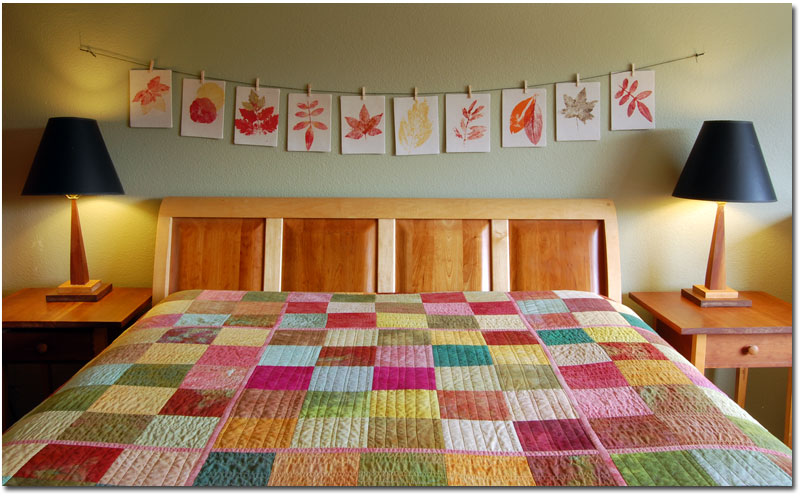
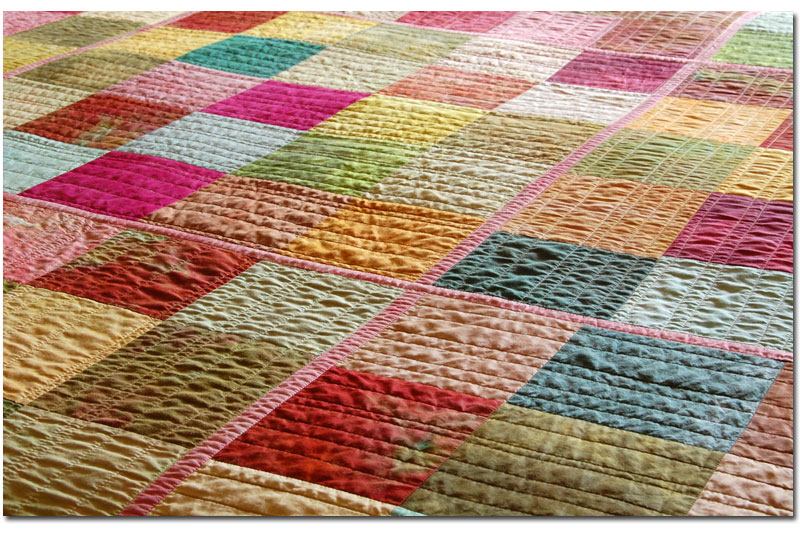
I’m happy to be able to share with you a video tutorial on my method of quilt as you go, that uses no sashing! Often times “quilt as you go” is done by quilting individual sections and then joining all the quilted sections together with sashing strips. Marianne of “The Quilting Edge” and Melody Johnson from “Fibermania” both have great tutorials on this method. This is a great method, but ultimately there are sashing strips that must be there for part of the design. I tried this out on a queen size quilt for my bed

This allowed me to assemble the blocks with the lines changing directions quite easily, but that sashing is definitely there:

So, I now quilt large quilts in a different way, adding a section on to a piece that’s already been quilted so I only have to push a maximim of 18″ under the arm of my machine. Last summer, I shared a picture of a quilt I was quilting on Instagram and one of my Instagram friends asked me what exactly I was doing. It was lonely up in the sewing studio, so I snapped pictures at various parts of the process and shared the explanations with her on Instagram, and turned that coversation into a blog post.
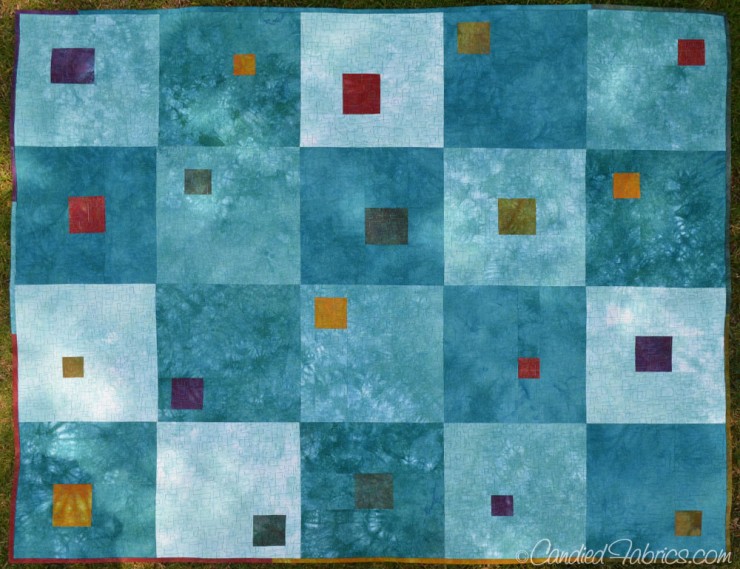
Here’s a picture of my first “modulating squares” quilt:

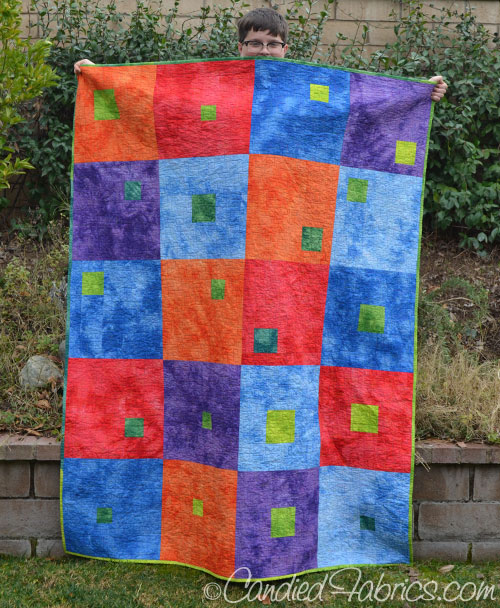
I got a lot of “thanks you’s” from folks about posting how I do this, so I know that I’m not alone in wanting different ways to handle quilting a large quilt. But I also know that some people learn better when watching a video and hearing someone explain something, so as I am making 2 more big quilts for my sons’ beds, I decided to video and narrate all the steps I take with this method while making Logan’s quilt:

It ended up being about 33 minutes long! I take my time trying to explain every step, so please, if you’re short on time or have a data allowance, visit the pictorial version of this tutorial instead. I broke the videos down into four main parts:
Introduction
In this segment, I explain the process, explain how I use fusible batting and talk about where exactly I will quilt the first piece.
Part 2: Adding a Column or Row
In this segment, I try to show exactly how a new column or row is added to the quilted section.
Part 3: Quilting
Here I show my quilting setup, and have taken videos of the quilting at a couple of different angles.
Part 4: Conclusion
Finally, I wrap things up and show you how to add quilt sections at several angles.
Alright, I do believe that I’ve now presented a really clear picture of how I quilt large quilts! I hope you’ve found this helpful!

75 Responses
Thank you for your clear explanation! Seeing you do it in the videos is really helpful to make qayg less daunting.
Wow, Candy! Thanks for the time you took to clearly explain your QAYG method. Your method makes room for a lot of creativity as opposed to the more common method of QAYG. I am going to try this on a small scale at first.
I don’t even quilt and I now I want to try this! Thanks for sharing your process.
Thank you so very much for taking the time to make the videos.
You always do such a great job and make everything very easy to understand.
I just finished watching all of them and this is exactly what I needed!!!
I finally get it! That was astonishingly clear. Thank you so much. (P.S. I’m not surprised that you would explain it well, because I do have your DVD after all.)
I’m so glad y’all are finding this useful!! 🙂
Find this usful!!! I love this method.!
I am so so excited. I plan to make a quilt using this method. I just finished a quilt as you go full size quilt for my mother using sashing strips and I have one right beside now quilted and ready to sash (full size) for my aunt for Christmas. I am interested in trying Candy’s method asap.
Thank you so much Candy.
I hope you can post more tutorials. I will be watching and using the information.
Thank you, I’ve got one to put together so I’m going to try this technique.
Thank you so much for the videos! I never like the look of the traditional quilt as you go, but love the way you do it!
Candy, I forgot to ask…do you sew your binding by machine or by hand?
Machine!
Thank you so much for the Video Candy, I will give it a try.
PS: You have a beautiful sewing room
Thank you for the videos – they were wonderful – I love the idea of QAYG by row or column .
Great videos, love the idea of not putting a huge quilt under a little sewing machine.
Thanks for sharing your QAYG method…will have to give it a try!!
I guess I’m going to need to see the video. Still can’t quite understand the joining part. It looks good though!
Thoroughly enjoyed watching this technique, so obvious when you think about it, looking forward to having a go on two baby quilts I am due to complete for two new additions to the family.
This looks so simple its hard to see why no one thought of it before. Well done you. I only wish I had seen it before I finished putting together my latest king size quilt project, but its too late now it’s all in one piece and (non fusible) batting purchased. I’m debating whether it would be better to unpick the top at intervals and use this method after all.
I can’t wait to try quilt as you go. Making quilt for great grandson. Will let you know how it turned out . Thank you.
Hi Candy,
My name is Anita Brazeau and I live in Ottawa,Canada. I found your web site today and finished watching your video on quilt as you go no sashings.. Wow! I have made quite a few quilts using quilt as you go with sashings but this method is fabulous I will certainly be trying this method.Thanks very much for sharing your talent with others.
That was really clear. I have avoided large quilts because of the multitude of problems. This, I can do. Thank You
Thanks sew much for such a clear and doable technique. I’ve puzzled over this, and thanks to you, it’s now clear.
Thank you so much! It’s great to see modern quilts sewn this way.
That is one of the best QAYG methods I have seen. Thank you for showing it to us in a video. I’m wondering if the batting iron on seem tape would work instead of zig zag stitching if I used regular cotton batting instead of the fusible?
Thank you so very much. That was very detailed. I learned a lot.
Thank you, Thank you, Thank you!!!! I have a king size quilt that needed more borders. It has been quilted for some time and I had no idea how I was going to add to it. I now know what I’m doing. Thanks again, Deb
Thanks for the clear instructions. Great job. Love the colors in the quilt too. Can’t wait to try it.
that was a great tutorial, I can’t wait to try it.
Thank You so very much! I spent hours on the net, trying to find a way to put a quilt together like this, with no luck. So started one on my own. Ended up with a piece on the back covering the seam. Then a few days ago I stumbled onto your instructions and am in Heaven. Left that one seam on the quilt and added the other rows the way you showed. Today I’m making 16 more blocks to make this quilt larger!!! This WILL BE my way of quilting from now on. Thank You again!
Awesome set of video tutorials, enjoyed you on quilting arts!
Thanks so much for the very clear instructional video on QAYG. I felt like I was right there with you and am now anxious to give it a go after years of stalling.
Brenda
I love the concept, I will try it on the next quilt I make. I cannot afford the long arm prices and have struggled with the quilting in my domestic machine. This looks perfect. I am wondering how you would add a border. I can figure out the top and bottom, but not the side pieces. Would you just leave extra backing and batting then flip and sew? What is the largest column width you would use? Can I put a few blocks together then use them as a “column”? Again, thank you!
Jewdi
How can I get your design pattern? I would love to make this but am inexperienced and want to make sure I am cutting the fabric pieces properly.
Loved your tutorial. Simple and very clear.
Do you have a pattern for the quilt at the end of the video? Or ruffly what were the block sizes. or a link to the post about it. Great way to use scraps of fabric for charity quilts.
Kath
Thank you so much for this information on qayg method. It’s what I’ve been looking for. I have a huge quilt that is scrappy and the blocks are finished. Now to put it all together and begin the quilting process. I’m keeping my fingers crossed. Thanks again,
Great job! I tried this but did not have fusible batting. I will try the fusible next. Thank you.
You’re a sweetheart for creating these videos. I’ll be trying your technique for sure. THANKS!!!
Thank you for the demo. I’m thinking that you could have done the first and last two columns in the regular quilting way and then used your method to combine the two. You would still have only one column under the machine at the most and it would save you combining two extra columns in the QAYG method. Quilt the first column, turn it around and quilt the second column.
You are right! Genius!!!! 🙂
Thank you for your wonderful, informative tutorial! I have made several QAUG quilts, always with the strips/sashings, and am anxious to try your method!
Candy, this was a terrific video series. Very, very detailed–I know anyone who watched would understand exactly how to do this method. I am itching to make a hand-dyed quilt using this technique! lol
Excellent tutorial! Thanks for taking the time to make this great video! I have done quite a bit of QAYG and will definitely give the ‘no sashing’ a try.
Good job! thanks for sharing.
I like your method of dealing with the seams better than mine.
Excellent set of tutorial videos – thanks for showing us this great method.
Oh my thank you so very much for your tutorial. I didn’t have a clue before and now although I’m very nervous about trying it, I will attempt one on my own. Thank you so much for taking the time to show us. 🙂 Marie
what color/weight of thread do you use?
I’m using cotton Star Variegated by C& C, 50 weight, color is V38.
This method is brilliant! I am so impressed with how simple and straightforward it seems. Thank you so much for sharing your great method. I really love your last quilt in tutorial video #4. Gorgeous!! You have really inspired me to finally tackle my latest scrappy quilt top using your QAYG method!
Thanks for this tut! I difinitely want to try it. I have a couple quilts started, that come to mind immediately, that are good candidates. Will let u know if that work out.
Wow-what a great method! But,(showing that I’m a newby here) what is the needle attachment you’re using? Thank you for the videos!!
I use 2 different feet:
A walking foot is really useful when your feeding several layers of fabric and/or batting under the needle. So, for straight line quilting or sewing the next column of fabric onto the one just quilted.
A darning foot, also called a free motion foot. I use this with the feed dogs set so they are dropped down, so that the quilt can only move when and where I lead it, allowing me to free motion quilt in any direction.
Hope this helps!
Thanks for the explanation! I really like how this looks and think that I’d be able to handle it on my small domestic machine.
Thank you this was very beautifully done and very inviting.
Loved, loved your tutorial. Thank you so much! I am new to quilting. Where do you buy your batting, and what is the brand name? (If you don’t mind telling.) Also, do you use a poly/cotton blend, all cotton, all poly? I liked the thinness of it. It looks easy to work with.
So glad it was helpful! I use “Fusi-boo” which is a fusible cotton/bamboo blend. I get it at JoAnns with coupons!
Dear Candy, what a blessing finding your tutorials on YouTube! I’ve come back to quilting after several years pause. I was never very good at free motion by machine, only stitch in the ditch, but mostly hand quilting, which I really love, but now I have bad bad arthritis, right wrist can’t handle it any more. I hope to, now, be able to finish this Double Nine Patch and Stars quilt that’s just blocks for now! Lucky me I didn’t sew them together yesterday. I want to thank you so very much for your generous tutorial. You’re my hero and my best friend for ever! Love, Brenda
Thank you so much for the great instructions…I have tried a little fmq and a little qayg and I am going to try your method next. Ithink it would be much better then my previous attemts.
I makesome charity items, knit&crochet, & maybe this would work on some baby quilts. Thanks again, & your quilt was beautiful! Best regards, Sandra in Mississippit
Thank you Candy for the wonderful tutorial. I found it on Pinterest this afternoon. I’ve often struggled with quilting a large quilt using my home sewing machine and will give this a try. I think I’ll even try it on a block of the month club quilt that I’ve signed up for this fall.
When I tried this, the pieced quilted column was much smaller than the unquilted one(naturally) so the seams and sections of the piecing would not match. Is there a solution to that or am I just not getting it, or is this method only suitable for certain types of pieced quilts?
thank you very much for your reply
Molly
Can you add a “column of borders”to each side of the quilt in the same way as adding a colum?
Just watched all 4 of your videos and they were all great. I do believe I can do this! Thanks for the great explanation on how to quilt as you go!
WOW! Thank you for sharing, these are really great instructional videos! I can hardly wait to get going on my next quilt. Instead of hemming and hawing over what to do, this opens up so many more possibilities! You’ve got me doing a happy little dance!
This is fabulous! Definitely going to try it on my next quilt. It goes together a bit like your ‘lollipop’ quilt with a negative space background. I also can see that I need to work on my table as well. Your videos were fabulous!
I just found your blog and enjoyed this QAYG video very much. I quilt on a Juki also, and wondered if you would tell me what foot you use? It looks like the standard free motion foot that comes with the Juki, but it doesn’t appear to hop in the videos. Did you modify it? Thanks!
I will definitely give your technique a try the next big quilt I make so that all the seams can be stitched by machine. Thanks for your tutorial.
I have made large quilts using basically the same technique but I quilt all the individual columns while they are still just columns. Then I machine stitch the first two columns together, with a 1/4″ seam allowance. I flip the unit over and trim the batting: let them overlap and cutting thru the two of them at the same time leaves matching edges once the excess batt is moved aside.
Then I determine where to fold one of the backings so it matches the front seam; trim away the 2nd backing so it can be slipped behind the fold of the first one. Here I hand stitch the two backings together – not as convenient as your technique.
Then I run the joined columns thru the sewing machine again to quilt this adjoined section that had been previously left unquilted. This may be easier to use when making a huge quilt.
Another thought when making a huge quilt would be to make the two halves via your technique and then join the final seam in the center. Yes, a very good technique – thanks.
PS – I should have said that “I stitch the TOPS of the first two columns together with a 1/4″ seam allowance…”
I loved learning this technique but can’t figure out how you would add borders to a quilt using this method. Do you have a video that shows this by chance?
Cindy, there is a way to add borders to a quilt-as-you-go quilt. Here’s how:
With the quilt center right-side up, place the border backing strip on the backside, with right sides together, and long sides even with the outer side. Place the border front strip on top of the quilt, right sides together. On top of this strip of fabric, lay a slightly larger batting strip on top of it. Now sew the two border strips and batting to the quilt top with a 1/4″ seam allowance. Trim out some of the batting in the seam allowance if it feels too bulky. Fold these 3 strips toward the outside, pin together. Repeat on the opposite side.
Trim the top and bottom of these strips even with the quilt top/bottom. Baste these 3 edges together so they do not slip. Then repeat the steps to add borders to the top and bottom.
Machine quilt a simple motif on these borders; trim and bind as usual.
Candy,
Thank you for taking the time to make this video tutorial. It has given me the confidence to try this method. I wanted to know the brand and type of light that you have attached to the top of your machine. I have the same Juki and find the lighting to be an issue.
Thanks again for the helpful tutorial.
Thanks so much for the quilt as you go tutorial! I have simple blocks made for my son & daughter-in-laws wedding quilt but do not have the funds to have it long arm quilted. Now I can finish it for them. Blessings!
I could not figure out any of the sashing tuts I have seen so this was a wonderful find for me, a new quilter to QAYG .. I have the same Juki machine as you do .. can you tell me where you got that awesome table?
Hi Toby, I’m so glad you found this tutorial useful! Hubby made the sewing table for me, I have a post about it with tons of pictures here:
https://www.candiedfabrics.com/2008/07/23/my-new-sewing-table/
Let me know if you (or someone who loves you) make one!
Candy
Thank you so much for the videos. This is a great QAYG method and I’m very excited about trying it.
Well this was just great, I am gobsmacked I will definitely have to try this, the explanation was so good I do love it when I can see and hear how to do things at the same time. You have done a wonderful job of making this way of quilting as you go look so easy and Im sure you have given a lot of people me included the incentive to give this a go
Thanks again for a great video. I will be looking at your web site more often.
G
Hello many thanks for your set of videos. After struggling with a quilt I had sewn altogether before quilting I don’t think I will ever do that again! I am going to adopt your method as it works so beautifully and the small childs quilt was so lovely too so no need to struggle anymore…thanks Marie