This post was originally a guest post I wrote over at Chris Daly’s “Dye Candy” blog. I’ve put it here on my blog too, because I keep referring to it an wanted to have it handy here! I’ve learned an incredible amount about dyeing from the internet, both the dyer’s listserve and blogs galore. One technique that has gotten a lot of dyers talking the past couple of winters is snow dyeing. I ooh and ahh over other folks’ results and pout, because living in SoCal, although great for dyeing in general, (because I can dye outside on my patio 12 months of the year), I never have snow to dye with.
Well, Chris posted some awesome snow dyeing results the other week, and something she wrote clicked with me. When she said “I may just have to buy my own snow cone machine” a huge LIGHTBULB went on in my head! My dayjob is teaching biology at the University of Redlands, and we have a huge ice machine that makes crushed ice, it’s great for holding test tubes, etc. So a couple Saturday’s ago, I went to work with an ice chest and brought home my “faux snow”! I took a lot of pix along the way and thought I’d walk you through my interpretation of Chris’s snow dyeing technique.
- Fabric: P & B Textiles dyer’s cloth MPAK (a bit heavier than true “quilter’s weight”, think Kona cotton weight)
- Dyes: Procion MX Fiber reactives, 2 set of primary colors and black, stock mixed 5 g/cup water (I don’t use urea, just a blender)
- Soda Ash soak: 1/2 cup/gallon water.
On Saturday, I just did two sets of comparing my usual method of LWI (low water immersion dyeing) with Chris’s snow dye techniques:
- My method: Dry fabric was “scrumbled” and pushed into a container to hold those nooks and crannies in place.
- Chris’s method: After a soak in soda ash, fabric was “scrumbled”, placed on top of window screen taped to a plastic bin, and covered with my “faux snow”
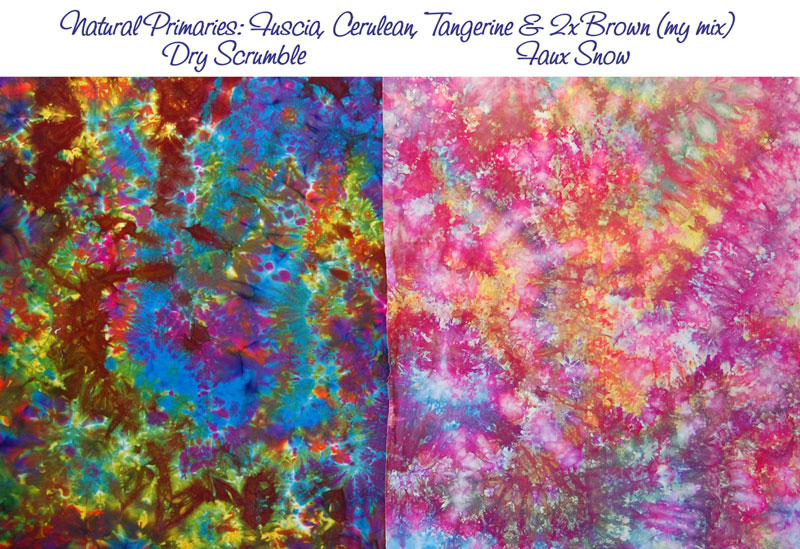
Then I poured dye over both sets of fabric. This set I used (ProChem names, I can never keep the MX codes straight) Tangerine, Fuchsia, Intense blue, and a brown I make that is 50/50 Sun Yellow/Grape.
- My Method: I poured the dyes on in no real set pattern until I couldn’t see white anymore. After about 10 minutes I poured a cup of Soda Ash over the top.
- Chris’s method: I poured the dyes on in no real set pattern until the ice looked covered with dye.
They then sat in the sun for several hours, here’s some time lapse photography:

 Here are the results of the natural primaries:
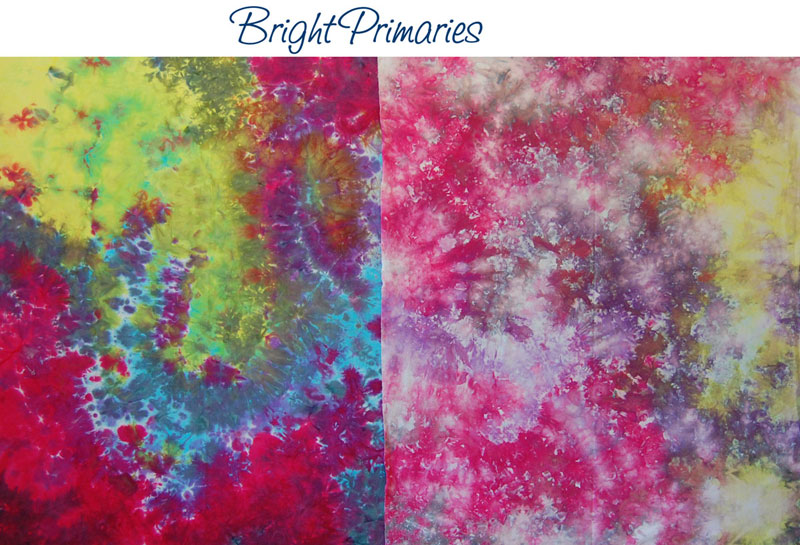
And another set I did in the same manner but with Bright primaries (Turquoise, Mixing Red, Sun Yellow)
I LOVE the texture I’m getting with the “snow”, but realized the colors are much lighter than the my normal LWI. I realized that I hadn’t really put the same amount of dye on each piece of fabric (because I was just pouring on until it looked covered), so it wasn’t a true comparison, so I designed my second experiment.
I love the serendipity one gets when dyeing the way I did on Saturday, but I was reminded why I’ve evolved my particular way of working with dye. It’s been my experience that when working with primaries alone it can be really easy to get purple, orange or green…which may be what you’re after, but I’d like more control. AND, I really love tertiary colors, which are colors that have amounts of all 3 primary colors in them – but this takes careful planning, or you get stuck with lots of “baby-poo brown”. So I’ve come up with color palettes that I like to work with, where I can mix up shades, tints and tones of a few colors (be they primary, secondary or tertiary) and combine them for neat hues that are always surprising, but in the range that I am looking for (which is not always purple or green!)
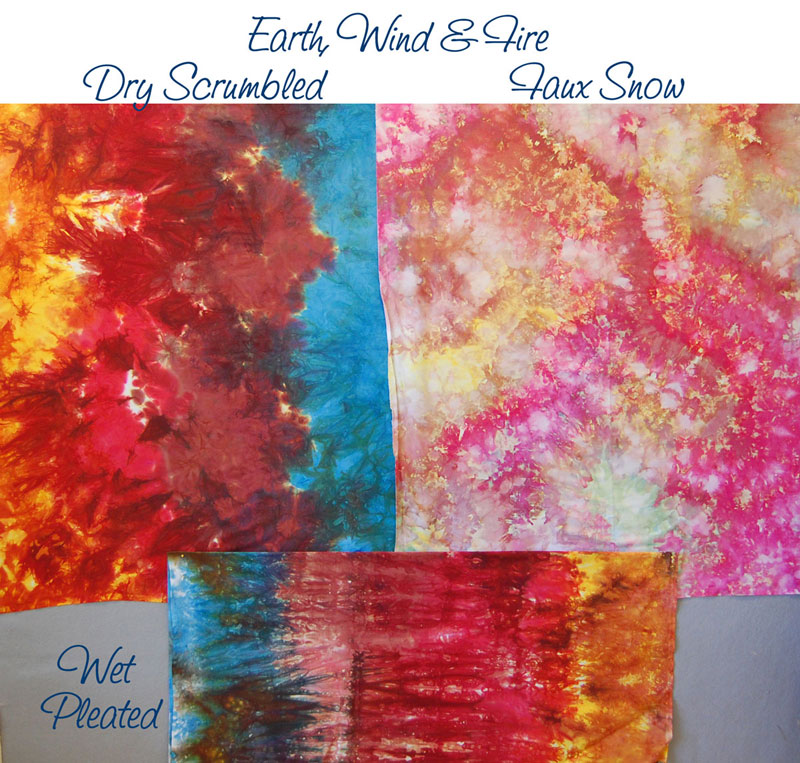
So, I mixed up dyes for a bunch of my palettes at the volume of 300 ml (1.25 cups)/yard of fabric and dyed in parallel again. This time, I did not only dry scrumbling vs. the “faux snow” but I also took some soda soaked fabric and pleated it before dyeing. Sometimes I still poured the dyes on willy-nilly, but sometimes I poured them in deliberate patches, examples of both are here:
The biggest difference is that I measured the dye and put the same amount on each piece of fabric. This way, if the “snow” dye pieces are lighter, I know it’s not because they didn’t get as much dye! I also found some old closet maid shelves in the garage and used these for some of the “snow dyes”, as it was easier to set up than carefully taping the screens on.
Some of the “faux snow” dyes it was really hard to figure out which palette they belonged to…thank goodness that I did a combination of 1/2 yard and 1 yard pieces (but always the same size for a particular palette), this helped me figure a couple of them out.
In general, the pieces that had more blue or black were much more faded out than those with lots of red (I think my favorite piece of the day is the Sunset “faux snow” dyed piece). Which backs up what other dyers say, that blue and black need higher temps and longer times to react.
Overall, I’m pretty happy that I was able to replicate the texture I was seeing on other folks sites – which is that there are lots of little faded patches that were at the top of the scrumbled fabric – where the “faux snow” is touching. I’d like to know if I can get them to look more intense like Chris does…I know she uses dye concentrates with similar concentrations, I wonder if she measures how much dye she uses, or just eyeballs it?
Anyway, there you have it – “faux snow” dyeing! I now can get a great watercolor look whenever I want – and it’s all because Chris said something about a snow cone machine! Thanks Chris…and thanks for having me as your guest!
For a little more eye candy: all those fabrics above folded neatly:
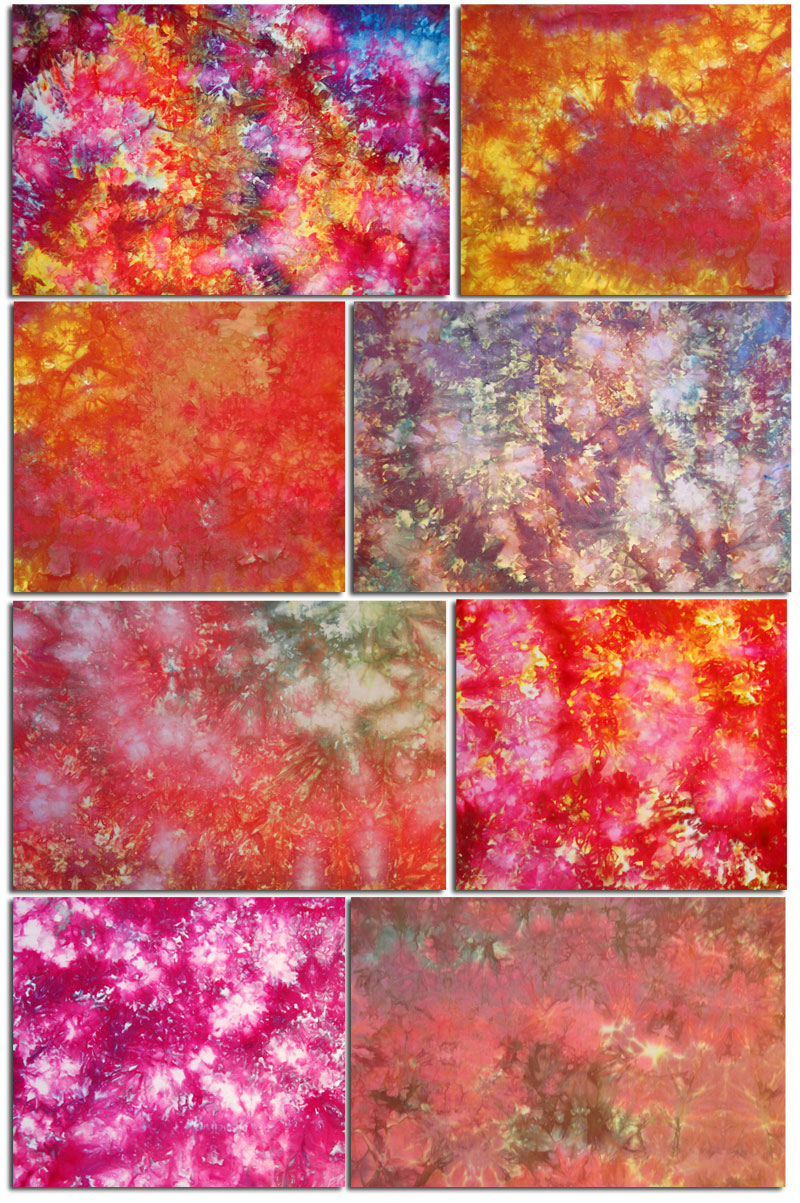
 Ah, there’s nothing like neatly folded pretty fabric, is there? And finally, here’s a collage of all the pretty snow dyed fabric:


One Response
These are just beautiful Candy! You got great results with your faux snow. I’ll have to wait for the real thing, which feel like it may come any day now….it’s too early
Regarding the blues — I find that turquoise does not the cold (must be Californian LOL), but cobalt, navy, mixing blue, and intense blue just LOVE the snow and ice!
Love your messenger bag too! And your scarves and little houses and the baby stuff made me squeal — it’s so cute!